Pada pertemuan kali ini kita akan membuat projek web profil pribadi dengan menggunakan lima halaman web, yaitu home, about, biodata, galeri dan contact.
Berikut tahapannya :
Tahap 1
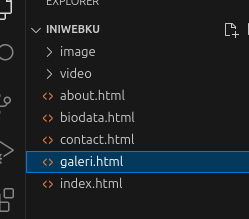
1. Buat folder baru dengan nama iniwebku(atau dengan nama masing).
2. Buat folder lagi di dalam folder iniwebku dengan nama folder image, folder image ini nantinya untuk menyimpan file foto.
3. Strukturnya nanti jadi seperi ini.

4. File yang perlu dipersiapkan di tahapan ini adalah foto berformat .jpg
5. Langkah selanjutnya kita akan mulai menulis kode. Silakan buka folder iniwebku dengan Visual Studio Code. Caranya:
Klik menu File, lalu pilih Open Folder dan carilah folder iniwebku dengan begini kita sudah siap menuliskan kode.
Tahap 2
1.Membuat halaman home
Buat file baru bernama index.html di dalam folder iniwebku,
Setelah itu, isi dengan kode berikut:
<!DOCTYPE html>
<html lang="en">
<head>
<meta charset="UTF-8">
<meta name="viewport" content="width=device-width, initial-scale=1.0">
<title>iniwebku</title>
<style>
/* Global Styles */
body {
font-family: 'Arial', sans-serif;
margin: 0;
padding: 0;
background: linear-gradient(to right, #00c6ff, #0072ff);
height: 100vh;
display: flex;
justify-content: center;
align-items: center;
color: white;
text-align: center;
}
/* Container */
.container {
background-color: rgba(255, 255, 255, 0.2);
padding: 40px;
border-radius: 15px;
box-shadow: 0 4px 20px rgba(0, 0, 0, 0.3);
width: 80%;
max-width: 600px;
}
h1 {
font-size: 3rem;
margin-bottom: 20px;
font-weight: 700;
}
p {
font-size: 1.2rem;
margin-bottom: 20px;
}
.button {
background-color: #ff6f61;
color: white;
padding: 15px 30px;
font-size: 1.2rem;
border: none;
border-radius: 5px;
cursor: pointer;
transition: background-color 0.3s;
text-decoration: none;
}
.button:hover {
background-color: #e95c4b;
}
footer {
position: absolute;
bottom: 10px;
width: 100%;
text-align: center;
color: white;
font-size: 0.8rem;
}
</style>
</head>
<body>
<div class="container">
<h1>Selamat Datang di Personal Website saya!</h1>
<p>Terima kasih telah mengunjungi website saya. saya senang dapat memberikan informasi dan layanan terbaik untuk Anda.</p>
<a href="about.html" class="button">Jelajahi website Saya</a>
</div>
<footer>
<p>© exsan | 2025</p>
</footer>
</body>
</html>Jangan lupa untuk mengubah nama exsan dengan nama kamu.
Jika kita coba membuka file index.html, maka hasilnya akan seperti ini:

2. Membuat halaman about
Buat file baru dengan nama about.html
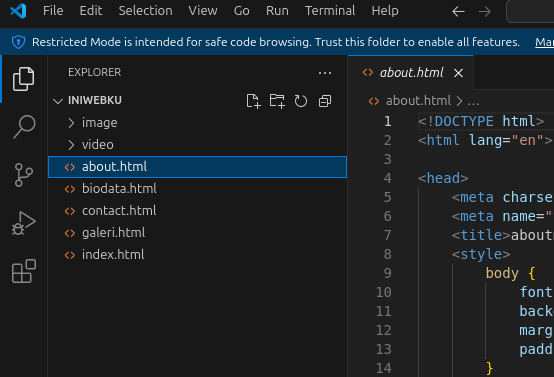
Kemudian tulis kode berikut :
<!DOCTYPE html>
<html lang="en">
<head>
<meta charset="UTF-8">
<meta name="viewport" content="width=device-width, initial-scale=1.0">
<title>aboutme</title>
<style>
body {
font-family: Arial, sans-serif;
background-color: #f4f4f9;
margin: 0;
padding: 0;
}
header {
background-color: #4CAF50;
color: white;
text-align: center;
padding: 20px 0;
}
.container {
width: 100%;
margin: 20px auto;
background-color: white;
padding: 20px;
box-shadow: 0 0 10px rgba(0, 0, 0, 0.1);
}
h2 {
color: #333;
}
.bio-detail {
margin-bottom: 15px;
}
.bio-detail label {
font-weight: bold;
}
.bio-detail p {
font-size: 16px;
}
footer {
background-color: #333;
color: white;
text-align: center;
padding: 5px 0;
position: fixed;
bottom: 0;
width: 100%;
}
</style>
</head>
<body>
<nav>
<a href="index.html">Home</a> |
<a href="biodata.html">Biodata</a> |
<a href="galeri.html">Galeri</a> |
<a href="about.html">About Me</a> |
<a href="contact.html">Contact</a> |
</nav>
<hr />
<header style="text-align: center;">
<img src="image/foto1.jpg" width="200" height="200" style="border-radius: 50%;"/>
<h1>Muhammad Ichsanudin</h1>
<p>(Software Engineer)</p>
</header>
<hr />
<article style="text-align: center;">
<h2>Overview</h2>
<p>
Haloo, saya adalah software engineer yang berdomisili di yogyakarta. </br>
Saat ini sedang belajar HTML di SMPN 2 Godean bergabung dikelas coding
</p>
</article>
<div style="max-width: 500px; margin: 3em auto">
<table border="1" width="100%">
<thead>
<tr>
<th>Skill</th>
<th>Pengalaman</th>
</tr>
</thead>
<tbody>
<tr>
<td>
<ul>
<li>HTML (Expert)</li>
<li>CSS (Beginner)</li>
<li>Javascript (Beginner)</li>
</ul>
</td>
<td>
<ul>
<li>Freelancer di Internet</li>
<li>Leader Local Linux Community</li>
<li>Leader Local Linux Community</li>
</ul>
</td>
</tr>
</tbody>
</table>
</div>
<hr>
<footer style="text-align: center;">
<p>Copyright © 2025 exsan.</p>
</footer>
</body>
</html>
maka hasilnya akan seperti ini: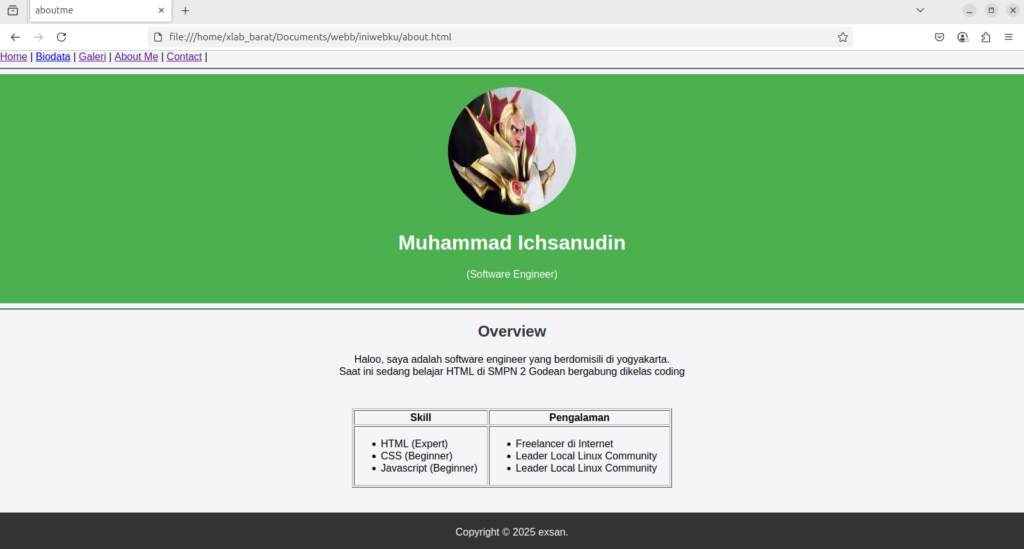
3. Membuat halaman biodata
Buat file baru dengan nama biodata.html
Kemudian tulis kode berikut :
<!DOCTYPE html>
<html lang="en">
<head>
<meta charset="utf-8">
<meta name="viewport" content="width=device-width, initial-scale=1">
<title>Biodataku</title>
<link rel="stylesheet" type="text/css" href="style.css">
</head>
<body>
<nav>
<a href="index.html">Home</a> |
<a href="biodata.html">Biodata</a> |
<a href="galeri.html">Galeri</a> |
<a href="about.html">About Me</a> |
<a href="contact.html">Contact</a> |
</nav>
<div class="kotak">
<div class="judul">
<h1>BIODATA DIRI</h1>
</div>
<div class="blok">
<h2>Informasi</h2>
<div class="kiri">
<img src="image/foto1.jpg">
</div>
<div class="kanan">
<table>
<tr>
<th>Nama</th>
<th>:</th>
<td>M. Ichsanudin</td>
</tr>
<tr>
<th>Tempat</th>
<th>:</th>
<td>Sleman</td>
</tr>
<tr>
<th>Tgl.Lahir</th>
<th>:</th>
<td>DD MM YYYY</td>
</tr>
<tr>
<th>Agama</th>
<th>:</th>
<td>Islam</td>
</tr>
<tr>
<th>Alamat</th>
<th>:</th>
<td>Jl. Godean, Yogyakarta</td>
</tr>
<tr>
<th>Email</th>
<th>:</th>
<td>xsn@fullstackdev.com</td>
</tr>
<tr>
<th>No.HP</th>
<th>:</th>
<td>+62812-3456-7890</td>
</tr>
<tr>
<th>Website</th>
<th>:</th>
<td><a href="https://www.iniwebku.com">www.iniwebku.com</a></td>
</tr>
</table>
</div>
</div>
<div class="blok">
<h2>Pendidikan</h2>
<div>
<ul>
<li><b>2000 - 2006</b> SD </li>
<li><b>2006 - 2009</b> SMP </li>
<li><b>2009 - 2012</b> SMA </li>
<li><b>2012 - 2016</b> Sekolah Tinggi</li>
</ul>
</div>
</div>
<div class="blok">
<h2>Pengalaman Kerja</h2>
<div>
<ul>
<li>
<b>2017 - 2019</b> - <i>Back-End Developer</i> - di Di PT. Teknologi Indonesia
</li>
<li>
<b>2020 - Now</b> - <i> Software Engineer</i> - di Di SMPN 2 Godean
</li>
</ul>
</div>
</div>
<div class="blok">
<h2>Keahlian</h2>
<div>
<ul>
<li>HTML</li>
<li>CSS</li>
<li>JavaScript</li>
<li>PHP</li>
</ul>
</div>
</div>
</div>
</body>
</html>
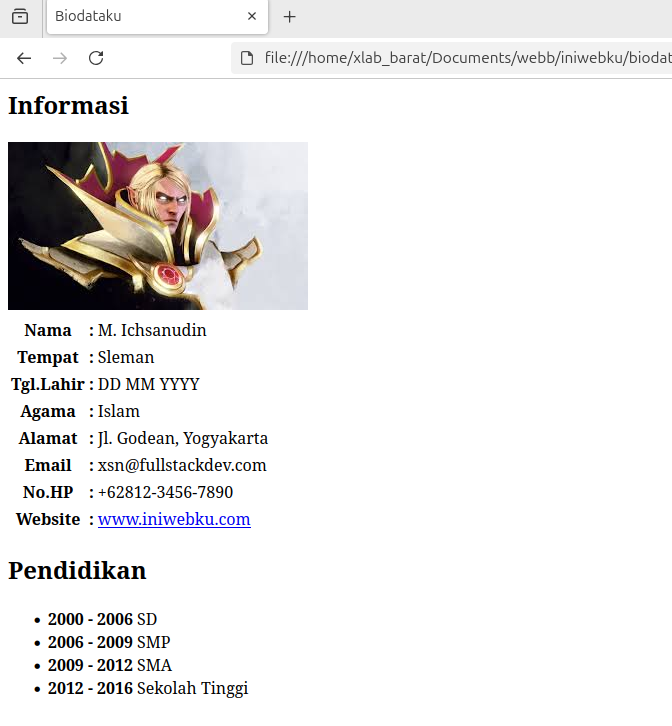
maka hasilnya akan seperti ini :
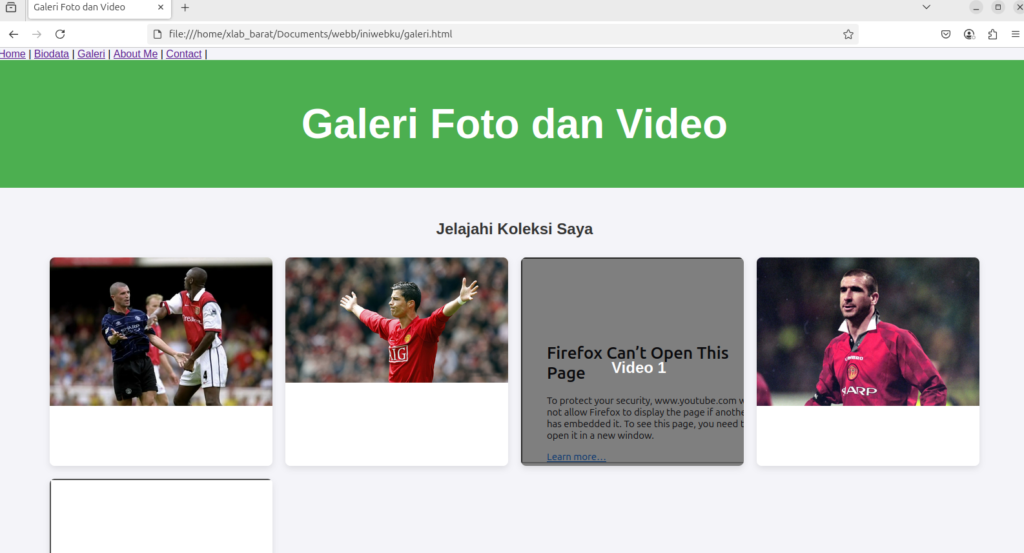
4. Membuat halaman galeri
Buat file baru dengan nama galeri.html
Kemudian tulis kode berikut :
<!DOCTYPE html>
<html lang="en">
<head>
<meta charset="UTF-8">
<meta name="viewport" content="width=device-width, initial-scale=1.0">
<title>Galeri Foto dan Video</title>
<style>
/* Global Styles */
body {
font-family: 'Arial', sans-serif;
background-color: #f4f4f9;
margin: 0;
padding: 0;
}
header {
background-color: #4CAF50;
color: white;
text-align: center;
padding: 20px 0;
font-size: 2rem;
font-weight: bold;
}
.container {
padding: 30px;
width: 90%;
margin: 0 auto;
}
h2 {
text-align: center;
color: #333;
margin-bottom: 30px;
}
/* Grid Layout for Gallery */
.gallery {
display: grid;
grid-template-columns: repeat(auto-fill, minmax(300px, 1fr));
gap: 20px;
margin-top: 20px;
}
/* Photo and Video Styling */
.gallery-item {
background-color: #fff;
box-shadow: 0 4px 10px rgba(0, 0, 0, 0.1);
border-radius: 8px;
overflow: hidden;
position: relative;
}
.gallery-item img, .gallery-item video {
width: 100%;
height: auto;
display: block;
}
.gallery-item video {
border-radius: 8px;
}
.gallery-item:hover .overlay {
opacity: 1;
}
/* Overlay Effect for Hover */
.overlay {
position: absolute;
top: 0;
left: 0;
width: 100%;
height: 100%;
background-color: rgba(0, 0, 0, 0.5);
color: white;
display: flex;
justify-content: center;
align-items: center;
opacity: 0;
transition: opacity 0.3s;
text-align: center;
padding: 10px;
}
.overlay h3 {
font-size: 1.5rem;
margin: 0;
}
footer {
text-align: center;
background-color: #333;
color: white;
padding: 10px 0;
margin-top: 40px;
}
</style>
</head>
<body>
<nav>
<a href="index.html">Home</a> |
<a href="biodata.html">Biodata</a> |
<a href="galeri.html">Galeri</a> |
<a href="about.html">About Me</a> |
<a href="contact.html">Contact</a> |
</nav>
<header>
<h1>Galeri Foto dan Video</h1>
</header>
<div class="container">
<h2>Jelajahi Koleksi Saya</h2>
<!-- Galeri Grid -->
<div class="gallery">
<!-- Foto 1 -->
<div class="gallery-item">
<img src="image/roy.jpg" alt="Foto 1">
<div class="overlay">
<h3>Foto 1</h3>
</div>
</div>
<!-- Foto 2 -->
<div class="gallery-item">
<img src="image/ronaldo.jpg" alt="Foto 2">
<div class="overlay">
<h3>Foto 2</h3>
</div>
</div>
<!-- Video 1 -->
<div class="gallery-item">
<iframe width="420" height="315"
src="https://youtu.be/T_3h_TIJA64?si=1th7rY1AfiMduva6?controls=0">
</iframe>
<div class="overlay">
<h3>Video 1</h3>
</div>
</div>
<!-- Foto 3 -->
<div class="gallery-item">
<img src="image/eric.jpg" alt="Foto 3">
<div class="overlay">
<h3>Foto 3</h3>
</div>
</div>
<!-- Video 2 -->
<div class="gallery-item">
<iframe width="420" height="315"
src="https://youtu.be/BiWafKt68eI?si=wR2Oh7s9ivZo2RTx?controls=0">
</iframe>
<div class="overlay">
<h3>Video 2</h3>
</div>
</div>
</div>
</div>
<footer>
<p>© exsan | 2025</p>
</footer>
</body>
</html>
maka hasilnya akan seperti ini :
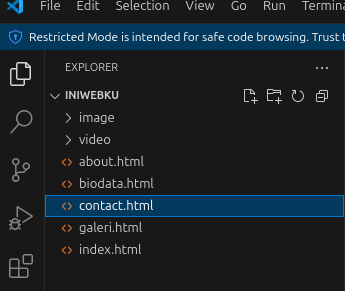
5. Membuat halaman kontak
berikutnya membuat halaman kontak, sama seperti sebelum2nya buat file baru dengan nama contact.html
tulis kode seperti berikut :
!DOCTYPE html>
<html lang="en">
<head>
<meta charset="UTF-8">
<meta name="viewport" content="width=device-width, initial-scale=1.0">
<title>contactme</title>
</head>
<body>
<nav>
<a href="index.html">Home</a> |
<a href="biodata.html">Biodata</a> |
<a href="galeri.html">Galeri</a> |
<a href="about.html">About Me</a> |
<a href="contact.html">Contact</a> |
</nav>
<hr />
<div>
<h1>Contact Me</h1>
<form>
<label for="email">Email</label><br />
<input type="email" name="email" placeholder="alamat email"/>
<br />
<label for="message">Pesan</label><br />
<textarea name="message" placeholder="Tulis pesan anda..." rows="4" cols="80"></textarea>
<br />
<br />
<input type="submit" value="Kirim" />
</form>
</div>
<hr>
<footer style="text-align: center;">
<p>Copyright © XSN 2025.</p>
</footer>
</body>
</html>
Hasilnya :
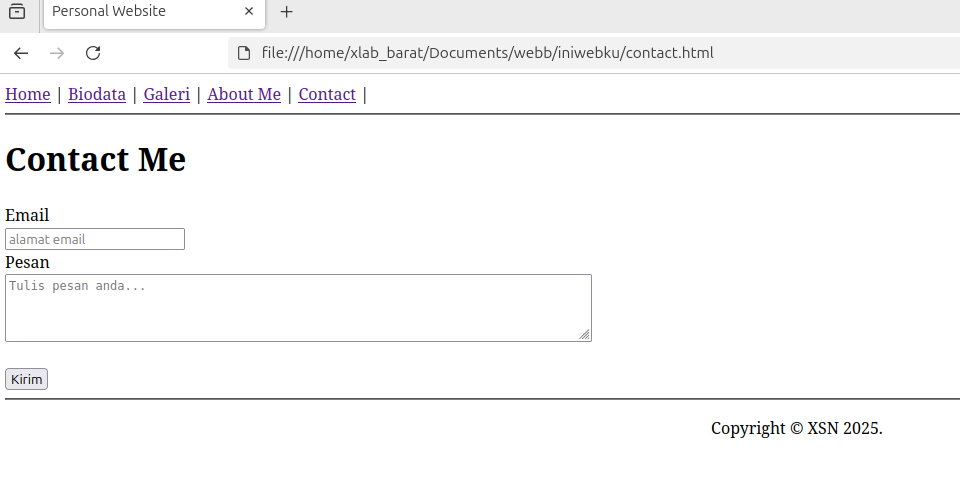
Form contact ini belum bisa berfungsi, karena kita belum membuat kode untuk mengirim data.